How to Replace a Window Screen: A Step-by-Step

Window screens serve as a valuable barrier, allowing fresh air to flow into your home while keeping insects and debris out. Over time, screens may become damaged or worn out, requiring replacement. While it may seem like a daunting task, replacing a window screen is a relatively straightforward process that can be accomplished with a few basic tools and some patience. In this guide, we will walk you through the steps to replace a window screen and restore the functionality of your windows.
Step 1: Gather the necessary tools: Before you begin, gather the following tools:
Replacement window screen
Utility knife or scissors
Screen rolling tool
Flathead screwdriver
Tape measure
Spline (the rubber or vinyl cord that secures the screen)


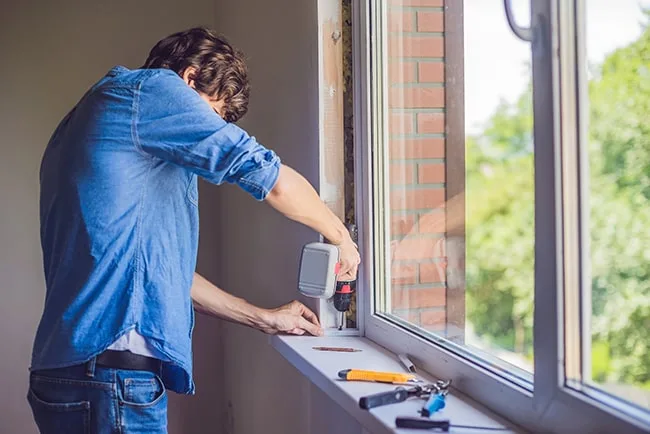
Step 2: Remove the damaged screen: Start by removing the window screen from the frame. Depending on your window type, you may need to remove a retaining strip or lift the screen out from the track. Use a flathead screwdriver or a similar tool to carefully pry the screen free.
Step 3: Measure and cut the new screen: Using a tape measure, determine the dimensions of the screen opening. Add a few inches to each measurement to ensure proper coverage. Lay the replacement screen material over the opening and cut it to size using a utility knife or scissors, following the measurements you obtained.


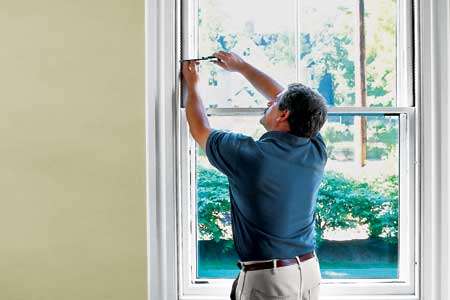
Step 4: Install the new screen: Position the cut screen material over the window frame, making sure it overlaps the frame on all sides. Insert one end of the spline into the groove on the frame. Using a screen rolling tool, press the spline firmly into the groove, securing the screen in place. Gradually work your way around the entire frame, using the tool to push the spline and screen into the groove.
Step 5: Trim the excess screen: Once the screen is secured all the way around, use a utility knife or scissors to trim off any excess material. Be careful not to cut into the spline or damage the screen in the process.


Step 6: Reinstall the screen: With the new screen in place, carefully place the screen back into the window frame. If there was a retaining strip or track, make sure it is properly aligned and secure it back into position.
Step 7: Finishing touches: Inspect the screen to ensure it is taut and free of any wrinkles or bulges. Gently press the spline and screen into any areas that may require additional securing. Finally, give the screen a light cleaning using a mild soap and water solution or a suitable window cleaning product.

By following these simple steps, you can successfully replace a damaged or worn-out window screen and restore the functionality of your windows. Replacing a window screen is a cost-effective way to improve ventilation in your home while keeping pests out. Remember to exercise caution and take your time during the process to achieve the best results. With a new screen in place, you can enjoy fresh air and natural light without the hassle of unwanted visitors entering your home.
If it seems difficult to you or you are not sure that you can handle it yourself, then you can contact us, we will quickly and reliably do this work for you, and we will also advise you on what is best to choose for you.
Window Repair NYC is the leader in the installation and repair of windows, frames, window nets, you can contact us at our number (+1) 646-255-2766 or use our booking service.